Pro Tips to Recreating 3 Best Hairstyles From NYFW

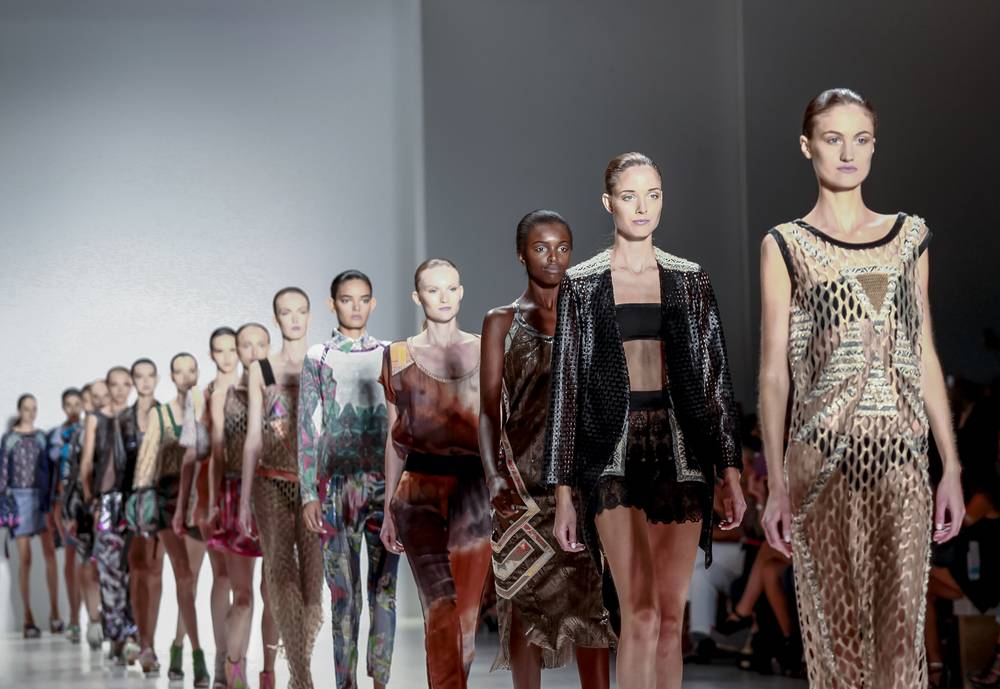
Fashion Month is every fashion aficionados favorite time of year. It kicks off at New York Fashion Week and concludes at Paris Fashion Week. Week after week, designers unveil their hautest collections, while the year’s hottest models bring the collection to life.
Attendees around the world not only swoon over the beautifully stitched pieces, but also the makeup and hairstyles. We caught up with celebrity hairstylist Devin Toth, of Salon SCK, to get you some haute pro tips to recreating the hairstyles at home. We can’t get you inside the shows or any pieces from the collection, but we can have your tresses looking as fabulous as today’s models that grace the runways.
Toth, who is one of the most sought after celebrity hair stylist in New York City, has created hair perfection for a number of runways like Dolce & Gabbana, Rachel Roy, Marc Bower, to name a few. His clientele includes Georgia May Jagger, Kate Upton, Vera Wang, Rachel Roy and more. Here are Toth’s top three picks from New York Fashion Week and do-it-yourself tips.
Messy Knot
- Smooth out your hairline by simultaneously brushing and blow drying your baby hairs away from your face towards the back of your head.

2. Brush your hair into a low ponytail and secure it with an elastic.
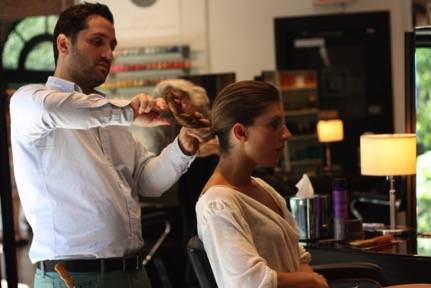
3. Twist your ponytail until it coils towards your head to form knot.
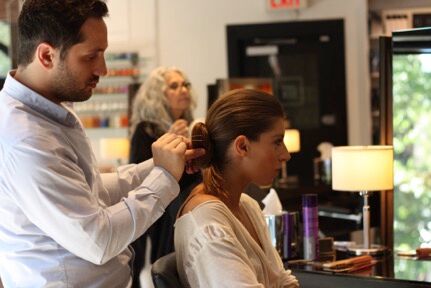
4. While leaving the ends out, secure the knot with hairpins.

5. Add long lasting texture to your knot with few spritzes of medium-hold hairspray such as Kerastase’s Laque Couture.
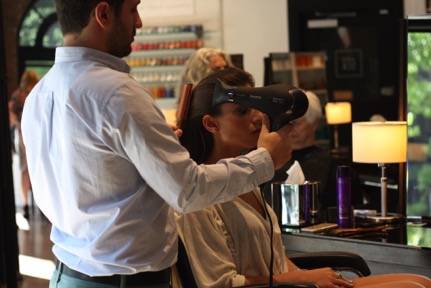
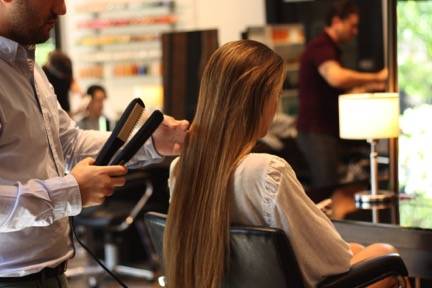
Slept-in Hair
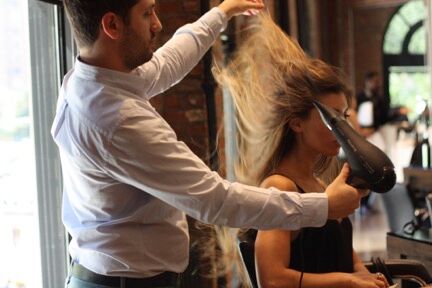
- Rough-dry and tousle your hair up and away from your face.
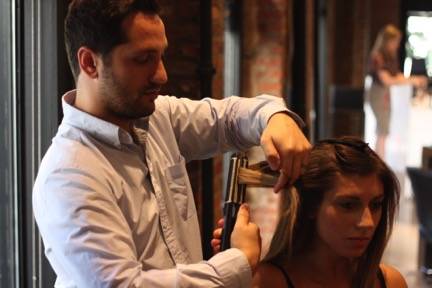
2. Using a flatiron with beveled edges such as Rowenta Beauty’s Versa Style Iron, take a small vertical section of hair and bend it back and forth as you slide the iron down the hair shaft; towards the face then away from the face and repeat. Continue waving vertical sections.
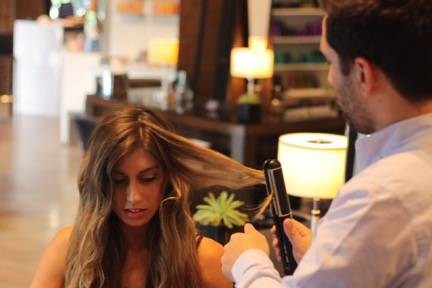
3. When you’re finished waving one side of the head, start waving small vertical sections on the other side of head.
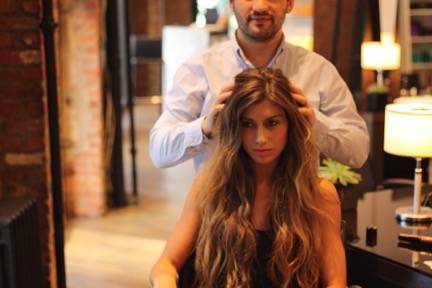
4. Using your fingertips, massage your scalp in a circular motion to create some natural, effortless texture and height.
Rope Braid
- Flat iron your hair pin straight.
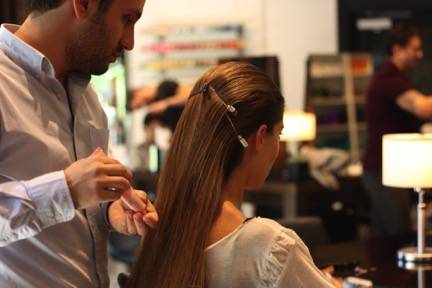
2. Brush all of your hair back away from your face, secure the front of the hairstyle with clips to keep it in place while you work on the rest of the hair. Apply a generous amount of styling balm like Shu Uemura’s Touch of Gloss to the length in the back.
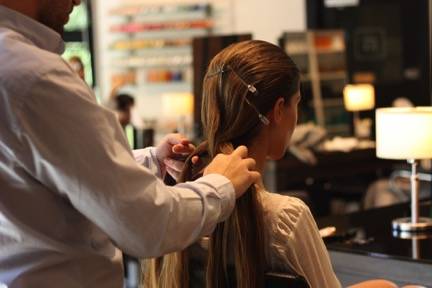
3. Divide the hair at the nape of your head into 4 sections (1,2,3,4 from left to right) and begin braiding.
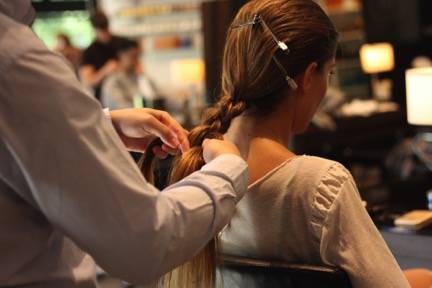
4. Towards the right, bring section 2 up and over section 4 and bring section 1 up and over section 3. Then towards the left, bring new section 3 up and over new section 1 and bring new section 4 up and over new section 2.
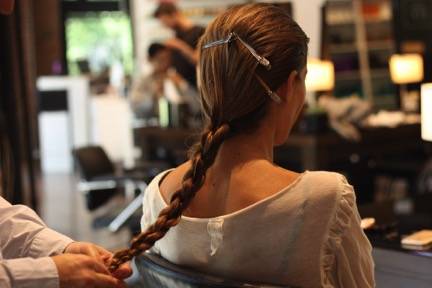
5. Continue braiding until you run out of hair and then secure the bottom of your braid with an elastic.
Featured photo via Shutterstock
Related Articles

Banyan Tree Higashiyama Kyoto: Kyoto’s Most Serene New Luxury Hotel
High above Kyoto’s historic Higashiyama district, surrounded by bamboo groves, ancient temples, and forested mountain slopes, stands one of Japan’s most captivating new luxury hotels. Opened on August 1, 2024, Banyan Tree Higashiyama Kyoto is the first Banyan Tree property in Japan and has quickly become one of the city’s most sought-after luxury retreats. Nestled […]

Cala Bennati Is Positioning Itself as the Defining Prosecco Brand for a New Generation of Celebrations
As National Prosecco Day arrives, Cala Bennati continues building momentum through luxury experiences, premium Italian winemaking, and lifestyle appeal.
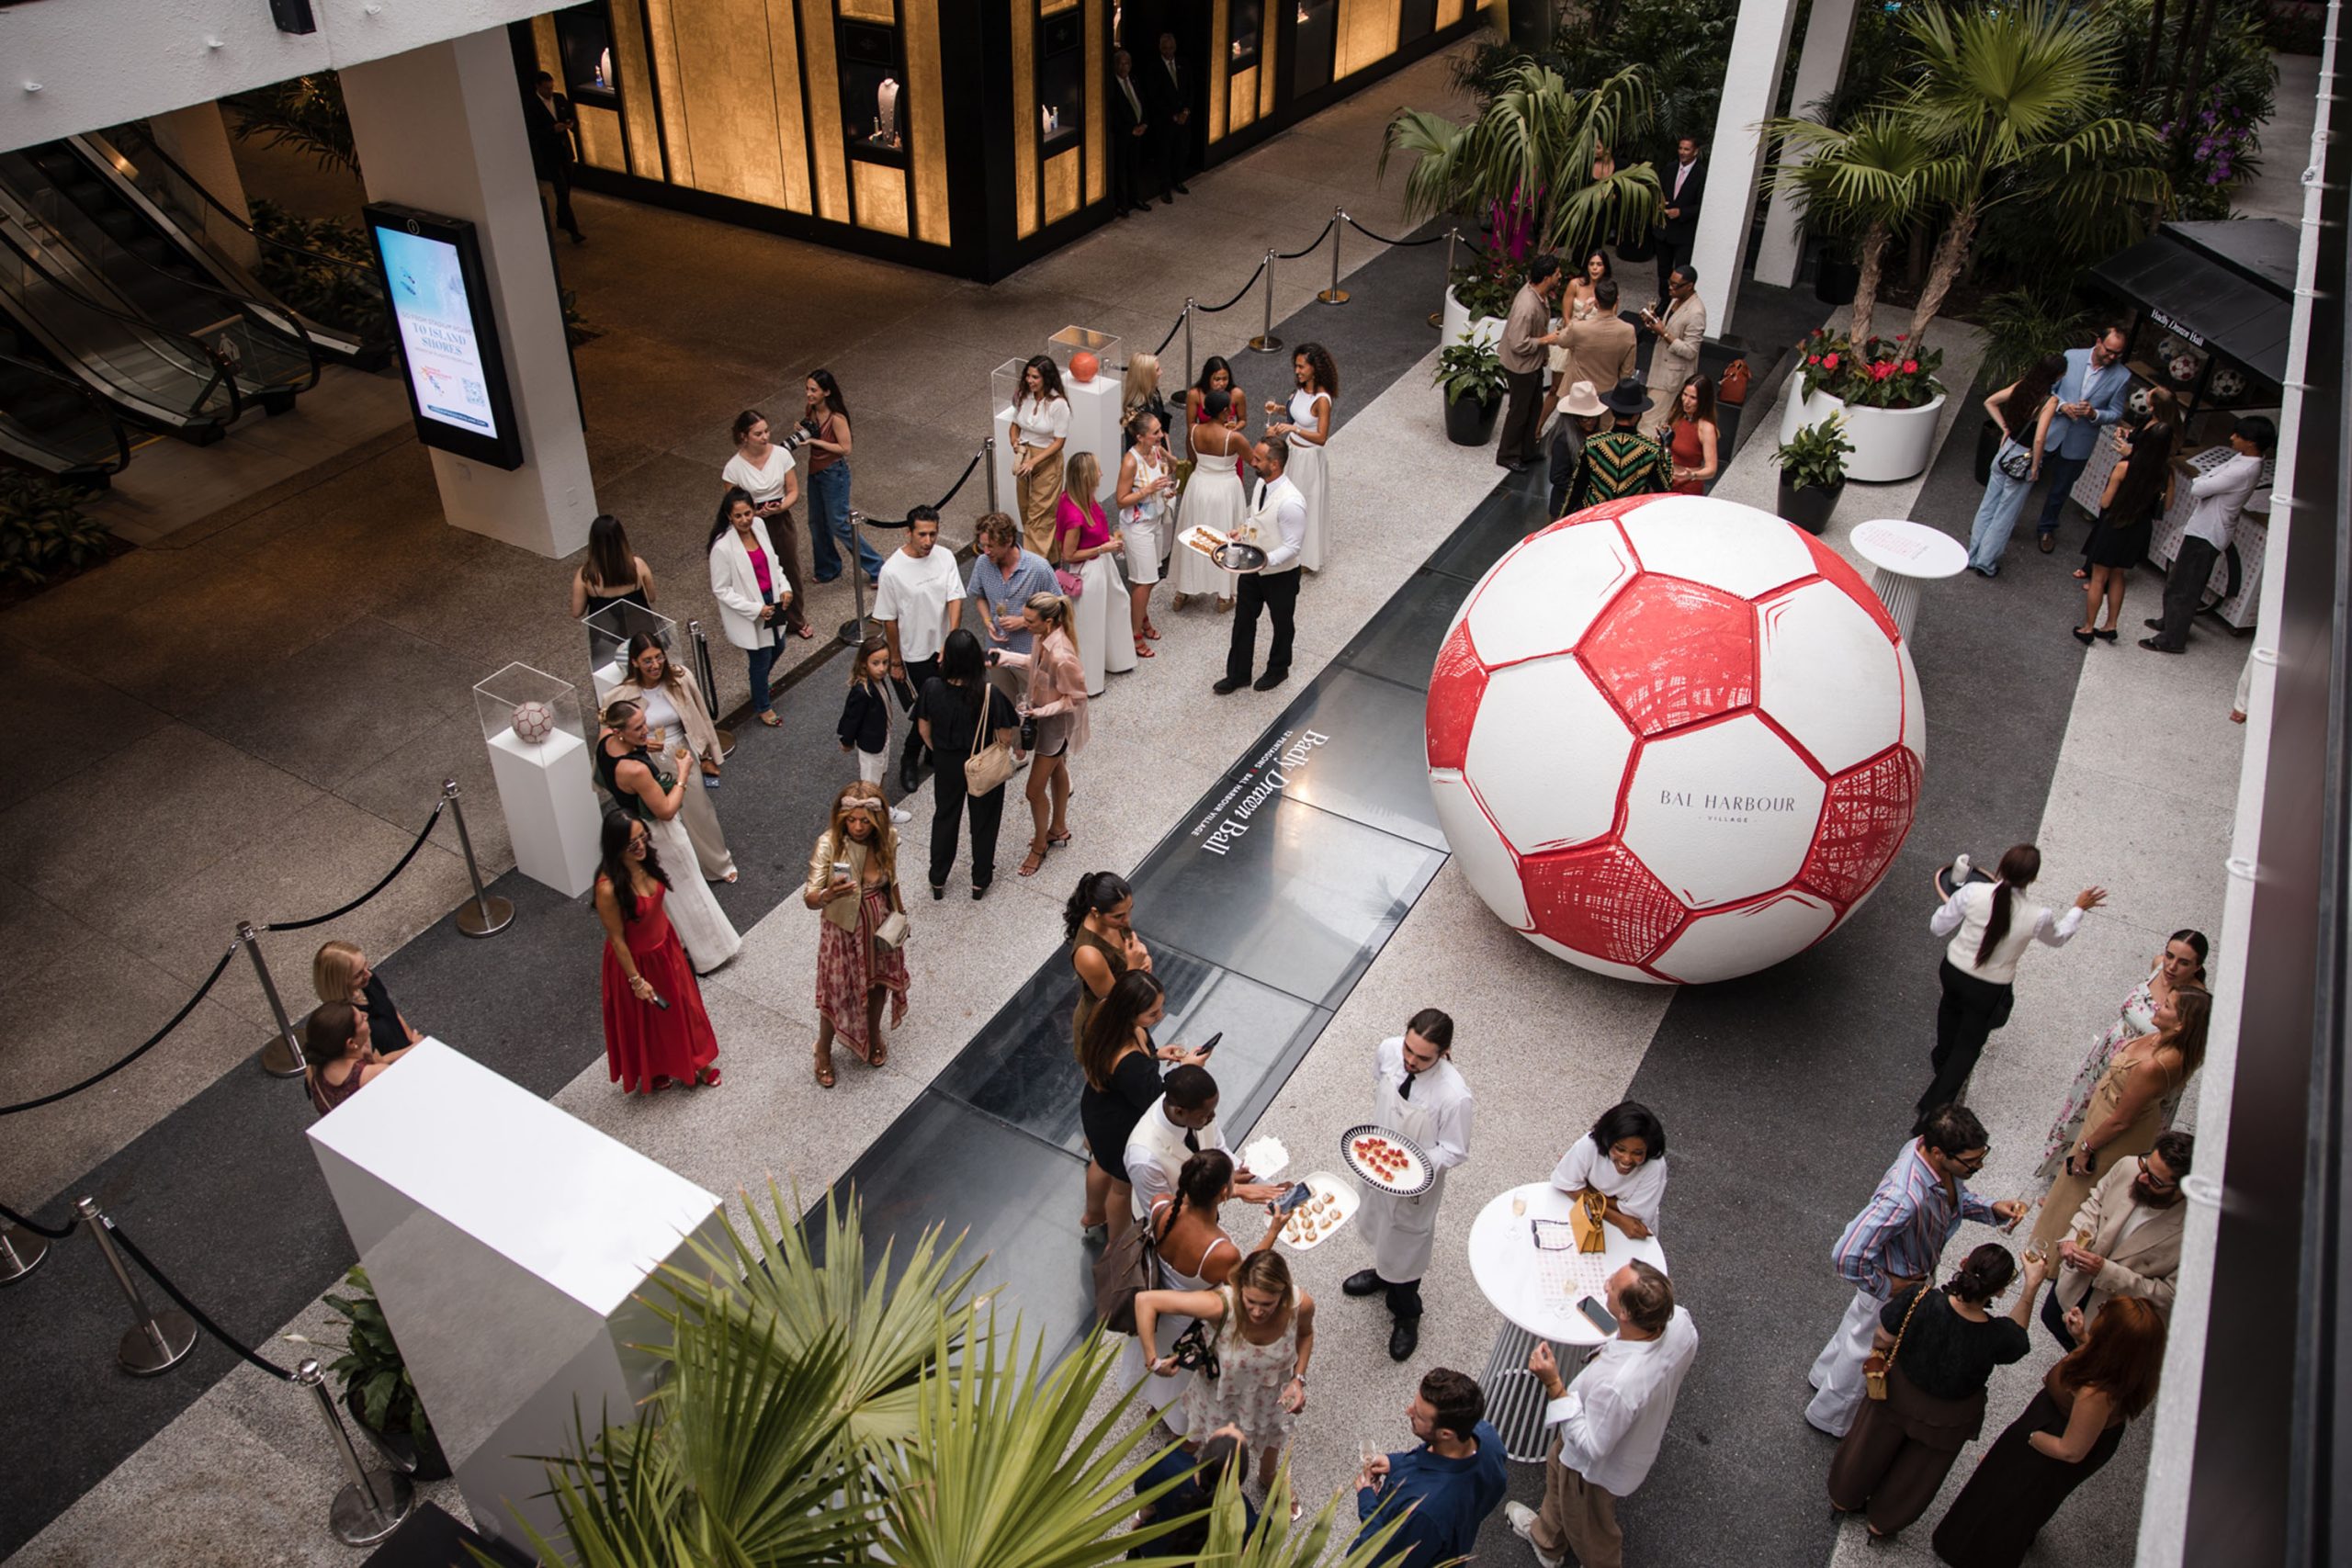
Jon-Paul Wheatley’s “Badly Drawn Ball” Arrives Among Miami’s Most Luxurious Shopping
A soccer ball has taken over one of Miami’s most glamorous shopping destinations, and it might just be the most thoughtful one you’ve ever seen. Photo Credit: World Red Eye Bal Harbour Shops unveiled “12 Pentagons” on Wednesday evening, a multi-week immersive art installation by British multidisciplinary artist and football designer Jon-Paul Wheatley. The launch […]

Inside World Gin Week: The Global Celebration Bringing Gin Lovers Together Across Five Continents
World Gin Week 2026 brings together 36 bars across 10 countries for a global celebration of gin. Get all the details here.
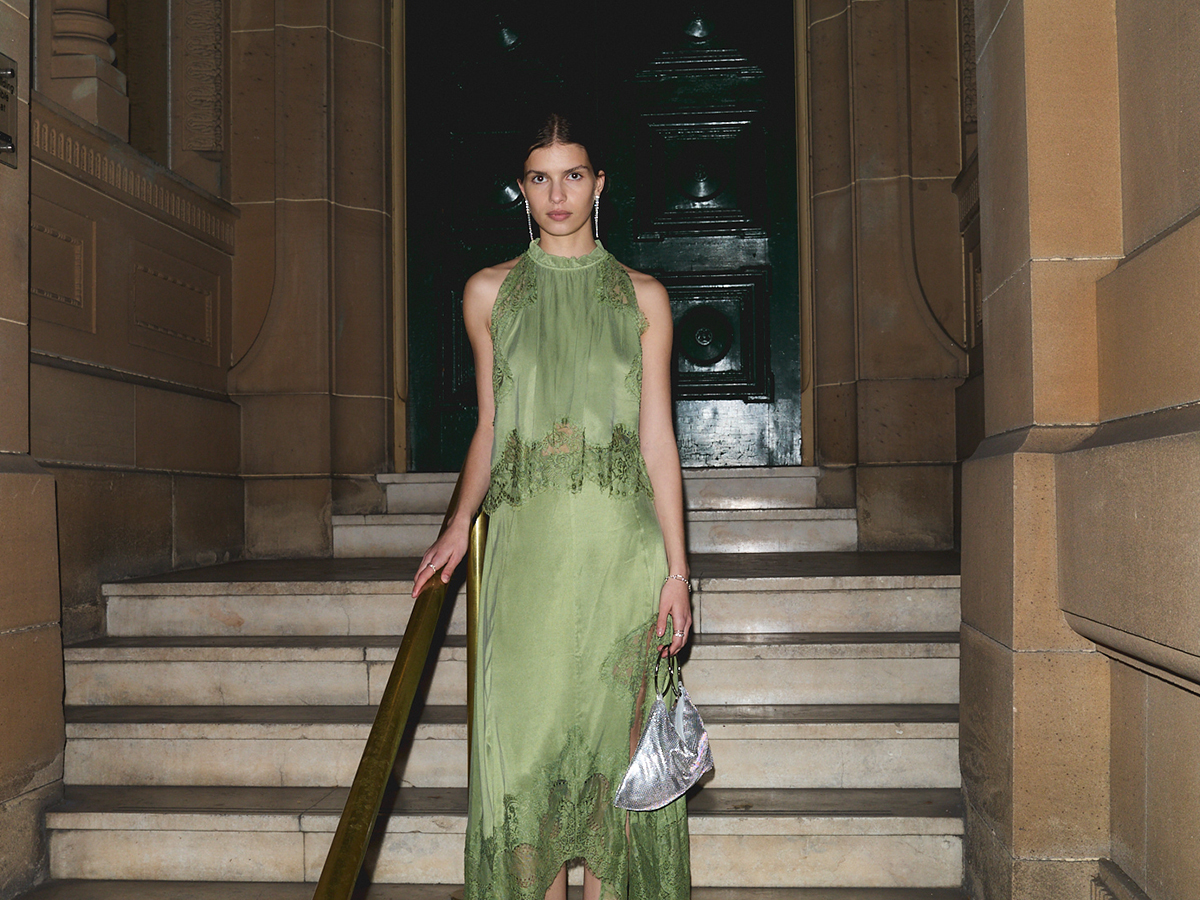
The Hautest Summer Wedding Guest Dresses of the Season
Whether you’re attending a formal black tie wedding or looking for a beachy destination look, the best summer wedding guest dresses await.
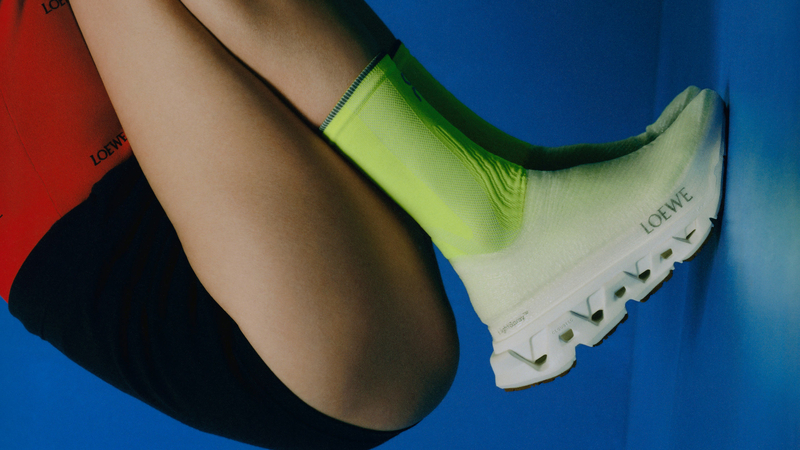
The On x Loewe Collaboration Just Keeps Getting Better and Better
On and Loewe have been creating some of the hottest sneakers around town, and the latest installment of its ongoing collaboration is no different.
Latest Stories
Trending Articles


Related Articles
Banyan Tree Higashiyama Kyoto: Kyoto’s Most Serene New Luxury Hotel
High above Kyoto’s historic Higashiyama district, surrounded by bamboo groves, ancient temples, and forested mountain slopes, stands one of Japan’s most captivating new luxury hotels. Opened on August 1, 2024, Banyan Tree Higashiyama Kyoto is the first Banyan Tree property in Japan and has quickly become one of the city’s most sought-after luxury retreats. Nestled […]
Cala Bennati Is Positioning Itself as the Defining Prosecco Brand for a New Generation of Celebrations
As National Prosecco Day arrives, Cala Bennati continues building momentum through luxury experiences, premium Italian winemaking, and lifestyle appeal.
Jon-Paul Wheatley’s “Badly Drawn Ball” Arrives Among Miami’s Most Luxurious Shopping
A soccer ball has taken over one of Miami’s most glamorous shopping destinations, and it might just be the most thoughtful one you’ve ever seen. Photo Credit: World Red Eye Bal Harbour Shops unveiled “12 Pentagons” on Wednesday evening, a multi-week immersive art installation by British multidisciplinary artist and football designer Jon-Paul Wheatley. The launch […]
Inside World Gin Week: The Global Celebration Bringing Gin Lovers Together Across Five Continents
World Gin Week 2026 brings together 36 bars across 10 countries for a global celebration of gin. Get all the details here.
The Hautest Summer Wedding Guest Dresses of the Season
Whether you’re attending a formal black tie wedding or looking for a beachy destination look, the best summer wedding guest dresses await.
The On x Loewe Collaboration Just Keeps Getting Better and Better
On and Loewe have been creating some of the hottest sneakers around town, and the latest installment of its ongoing collaboration is no different.
Subscribe to Haute Living
Receive Our Magazine Directly at Your Doorstep
Embark on a journey of luxury and elegance with Haute Living magazine. Subscribe now and have every issue conveniently delivered to your home. Experience the pinnacle of lifestyle, culture, and sophistication through our pages.


Haute Black Membership
Your Gateway to Extraordinary Experiences
Join Haute Black and unlock access to the world's most prestigious luxury events