
Building a front porch is one of those projects that completely transforms a home’s character, boosting its curb appeal while creating a genuinely usable outdoor living area. It’s a serious undertaking that marries thoughtful planning and design with solid construction, often calling for a mix of your own vision and a professional’s touch to get it just right.
Planning Your Porch From the Ground Up
A truly stunning front porch is never an accident. It’s the result of diligent groundwork that starts long before a single shovel hits the dirt. Honestly, this initial planning phase is the most critical part of the entire project—it sets the stage for your budget, timeline, and the final outcome. It’s all about taking that dream in your head and turning it into a blueprint for reality.
This is where you dig into the specifics of your property and the maze of local regulations. A well-laid plan ensures your porch isn’t just a pretty face; it will be structurally sound, legally compliant, and a perfect fit for your home’s architecture and your family’s lifestyle.
Assessing Your Site and Property
Before you get lost in design sketches, you need to intimately understand your canvas. A meticulous site assessment is your best defense against expensive surprises later on. I always tell my clients to start by just observing. Watch how the sun travels across the front of your house at different times of the day. A porch that gets hammered by the hot afternoon sun will need a different design—perhaps a deeper roof overhang or ceiling fans—than one that sits in cool morning shade.
After that, it’s time to get practical and break out the tape measure.
- Get Your Dimensions: Carefully record the width and height of the entire area where the porch will be built. Make sure to note the exact locations of windows, doors, and any exterior elements like light fixtures or hose bibs that might have to be relocated.
- Study the Lay of the Land: Is the ground perfectly level or does it slope? Even a gentle slope requires more complex foundation work, like stepped footings, which will absolutely affect your budget.
- Follow the Water: Pay close attention to how water drains away from your foundation during a heavy rain. The last thing you want is a new porch that traps moisture against your home, leading to rot or foundation damage. Proper grading and gutter planning are non-negotiable.
This flowchart breaks down the essential early stages, moving from the initial assessment right through to your budget.
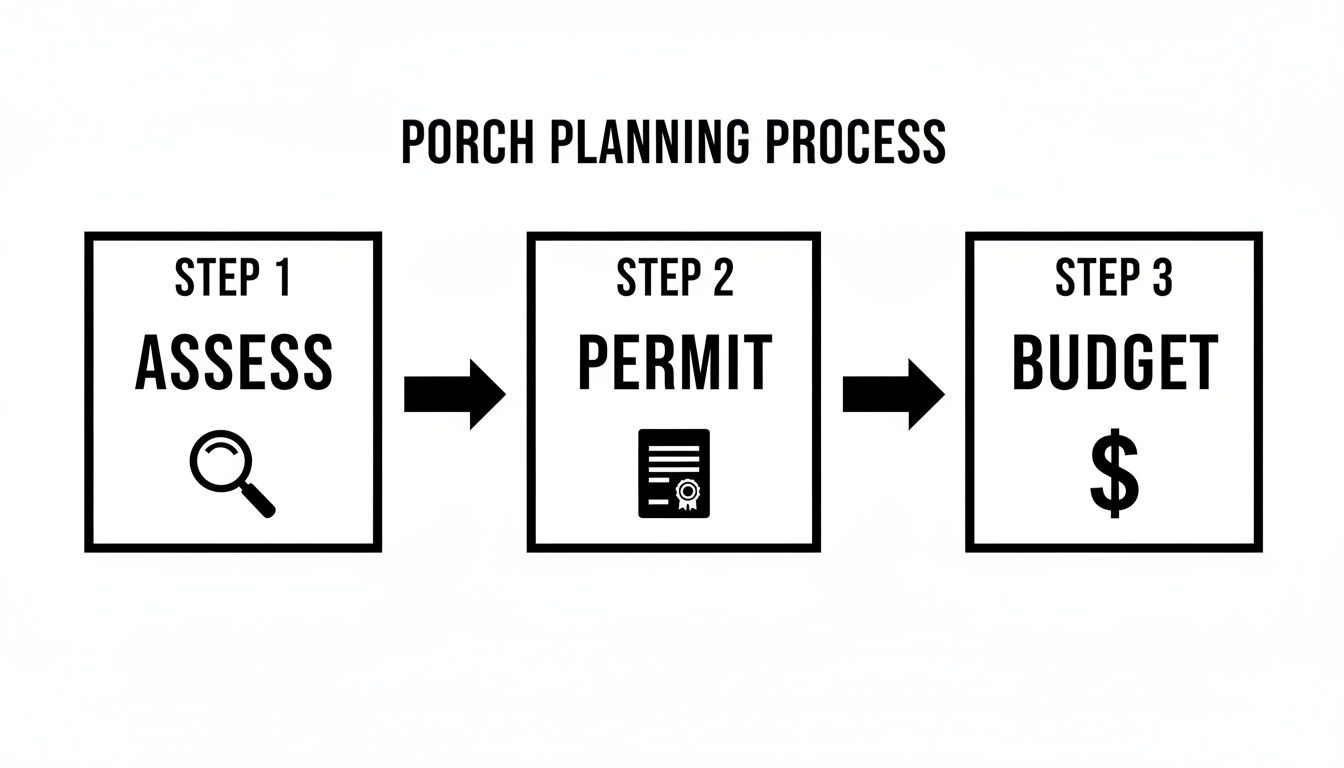
Think of it as a roadmap. Following this logical sequence ensures no crucial detail gets missed.
Navigating Building Codes and Permits
Of all the planning steps, this is the one you cannot afford to get wrong. Local building codes aren’t just suggestions; they are legally binding rules created to keep you safe. Trying to bypass this step can lead to hefty fines, a stop-work order, or even being forced to tear down what you’ve built. It also creates major problems when you try to sell your home.
The permitting process forces you to think through the entire project structurally, from foundation depth to railing height. It’s an essential quality-control measure that protects your investment and your family.
Your first stop should be your local municipality’s building department, either online or with a phone call. You’ll almost certainly need a permit if your porch is attached to the house, rises more than 30 inches above the ground, or includes a roof. The process usually means submitting detailed architectural plans for their review and approval. For those new to the renovation world, this guide on how to plan a home renovation for success offers some fantastic advice for managing these early hurdles.
This kind of project is a major investment, and you’re not alone in making it. In the United States, the deck and patio construction market was valued at about USD 1.3 billion, a figure that speaks volumes about how much we value our outdoor living spaces. You can explore more insights into the U.S. outdoor construction market on IBISWorld.
Designing a Porch That Complements Your Home
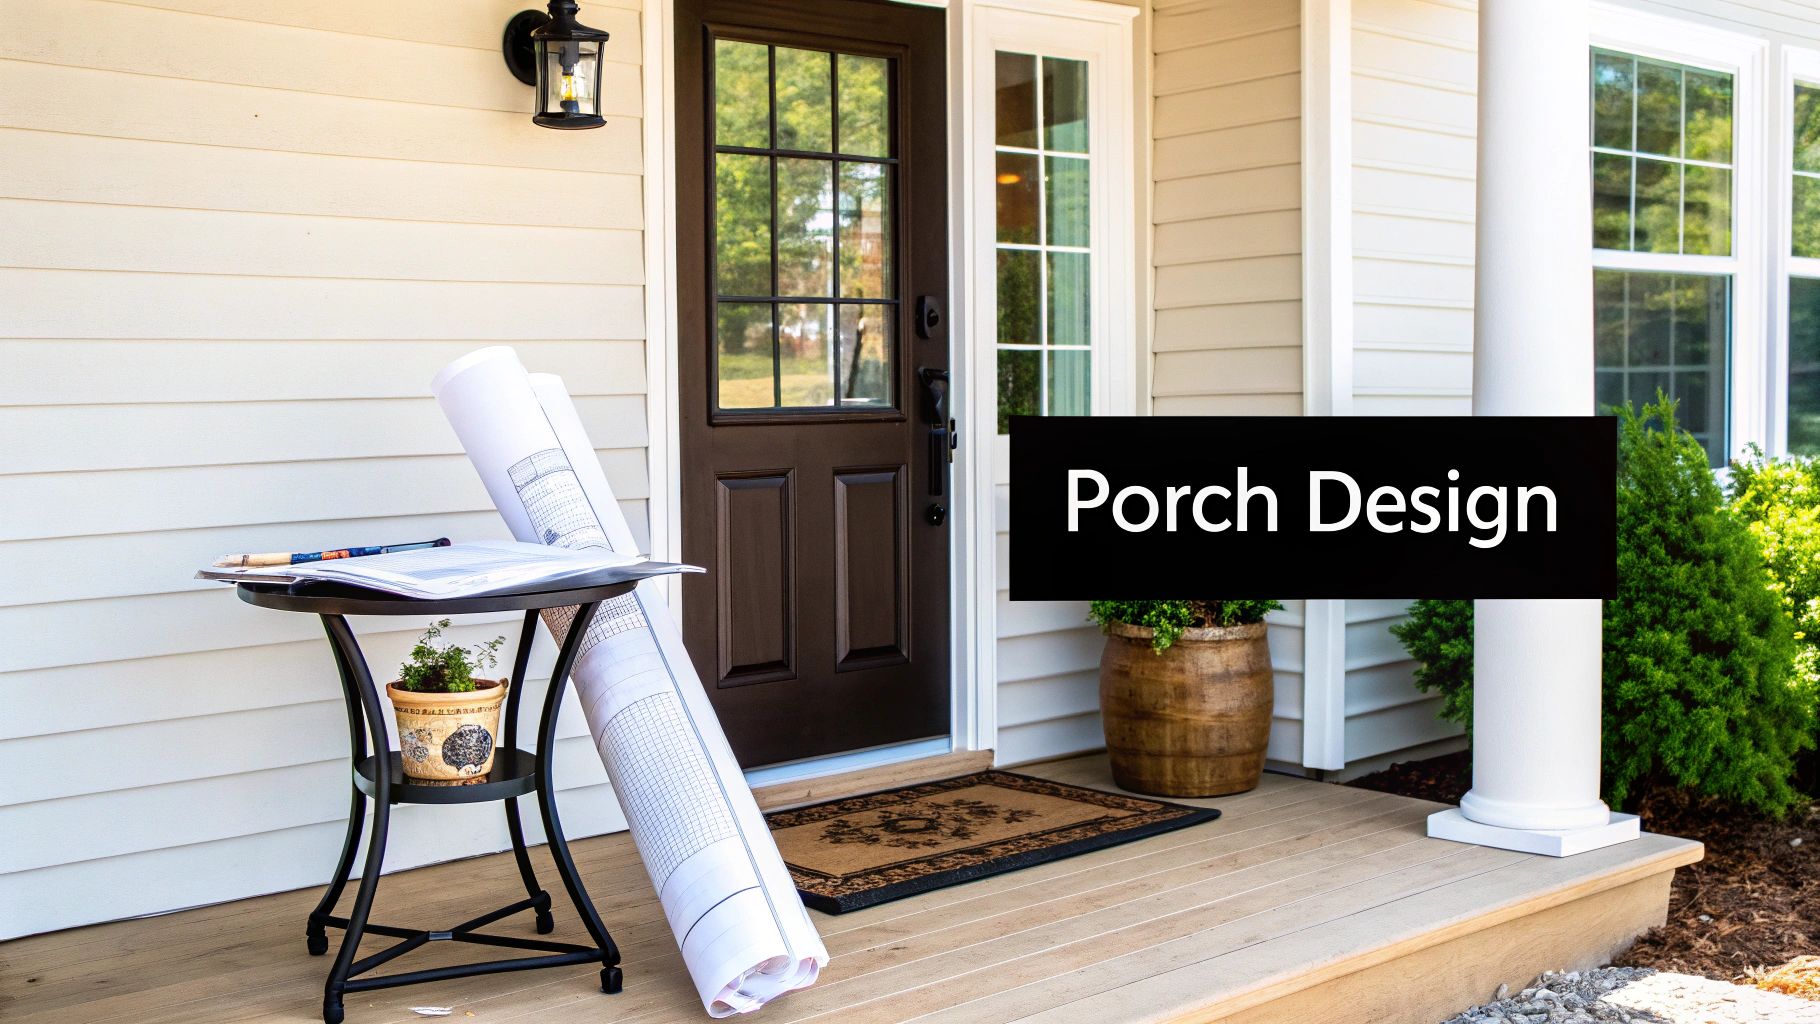
The best front porches don’t feel like additions at all. They feel like they were always meant to be there, an integral part of the home’s original vision. Getting this right means going beyond a cookie-cutter plan and really digging into your home’s architectural soul. The whole point is to create an extension that elevates the existing structure, not one that shouts over it.
Take a good, hard look at your home’s core style. Is it a sprawling Craftsman that practically begs for tapered columns and chunky, exposed rafter tails? Or is it a clean, modern build that would be enhanced by the sleek lines of metal railings and minimal fuss? A classic Colonial revival, of course, will demand the kind of symmetry and traditional turned wood balusters that define its character.
This first decision—locking in the style—sets the tone for everything that follows, from the pitch of the roof to the materials underfoot. It’s the key to making sure the final result feels cohesive and intentional.
Selecting Your Architectural Style
The footprint and roofline of the porch are your first big decisions. A generous wraparound porch is a timeless choice for Farmhouse or Victorian homes, creating an incredible outdoor living space that just invites people to gather. On the other hand, a smaller, more formal portico might be the perfect, stately accent for a Georgian home, adding a touch of grandeur without overwhelming the facade.
Here are a few common styles I see and the homes they pair with best:
- Wraparound Porch: Ideal for larger properties and styles like Victorian, Farmhouse, or Queen Anne. They create a fantastic indoor-outdoor flow and give you multiple zones for seating and relaxing.
- Gabled Porch: This is a classic look with a triangular roof that frames the front door beautifully. It’s a natural fit for Colonial, Cape Cod, and Craftsman homes.
- Shed Roof Porch: Simple, clean, and incredibly functional. The single-slope roof is less obtrusive, making it a versatile choice for Ranch-style homes or as a more subtle addition to a two-story house.
- Modern Flat-Roof Porch: This style is all about minimalist design, using materials like steel, concrete, and large glass panels. It’s the go-to for contemporary or mid-century modern architecture.
It’s no surprise that porches are making a huge comeback; they tap into a real desire for community and connection. In fact, recent data shows that 66.4% of new single-family homes now include a porch—the highest share recorded since 2005. It just goes to show how much we value these transitional spaces in American life.
Choosing Premium Materials That Last
Your choice of materials really defines the porch’s personality, feel, and—most importantly—its longevity. While standard pressure-treated lumber has its place, a truly high-end build calls for materials that deliver both superior performance and a refined aesthetic.
Premium hardwoods like Ipe or Tigerwood are my personal favorites for their sheer density and natural resistance to rot and insects. They can be left to weather into a beautiful silver patina or oiled regularly to maintain their rich, deep color. For those who want the look without the upkeep, top-tier composite and PVC decking from brands like Trex or AZEK are fantastic. They offer the warm appearance of wood with virtually zero maintenance—no more sanding, staining, or sealing.
A well-designed porch is a study in details. The choice of column style, the profile of the handrail, and the spacing of the balusters are not minor points; they are the elements that create a bespoke, cohesive look.
To truly elevate your project, think beyond the decking. Stone-wrapped columns or a bluestone floor can lend a touch of rustic elegance. For a more modern feel, powder-coated aluminum railings provide a sleek, durable finish that won’t get in the way of your view. If you’re looking for more ideas on blending different elements, our guide on how to design an outdoor space has some great inspiration.
Comparing Premium Porch Decking Materials
Choosing the right decking is one of the most critical decisions you’ll make. It impacts not only the look and feel of your porch but also its maintenance schedule and long-term cost. Here’s a breakdown of some of the top-tier options I often recommend to clients.
| Material | Average Cost (per sq. ft.) | Durability & Lifespan | Maintenance Level | Best For |
|---|---|---|---|---|
| Ipe Hardwood | $20 – $35 | Excellent (50+ years) | Low to Moderate | Unmatched natural beauty and longevity; homes where authenticity is paramount. |
| Composite (High-End) | $15 – $30 | Excellent (25-30 years) | Very Low | Busy homeowners who want the look of wood without the annual upkeep. |
| PVC Decking | $12 – $25 | Excellent (30+ years) | Very Low | Coastal areas or poolside, as it’s highly resistant to moisture and mold. |
| Bluestone/Natural Stone | $25 – $50 | Superior (100+ years) | Low | Creating a timeless, elegant foundation for high-end traditional or rustic homes. |
While the initial investment for materials like Ipe or natural stone is higher, their incredible lifespan and minimal long-term care often make them a sound financial choice over the life of the home.
The Finishing Details That Create Cohesion
A porch is much more than its floor and roof; the details are what pull the whole vision together. The roofline, for instance, should ideally match or complement your home’s existing roof pitch. Using the same roofing material—whether it’s asphalt shingles or a standing-seam metal roof—is a simple but powerful way to create a seamless, unified look.
Lighting is another element that can make or break the space, affecting both function and mood. I always advise clients to move beyond a single, harsh overhead light and adopt a layered approach:
- Ambient Lighting: Recessed can lights in the ceiling or a few well-placed pendant fixtures provide soft, overall illumination.
- Task Lighting: Sconces flanking the front door aren’t just for style; they ensure you can actually see the lock at night.
- Accent Lighting: Low-voltage lights installed in the stair risers add a touch of drama and are a fantastic safety feature.
Finally, let’s talk about railings and columns. These are major visual players that heavily influence the porch’s character. Simple, square columns are right at home on a Craftsman, while ornate, turned columns perfectly suit a Victorian. The railing design should follow that lead, whether it’s a clean horizontal pattern for a modern aesthetic or an intricate Chippendale design for a more traditional home.
Building the Unseen Structure: Foundations and Framing
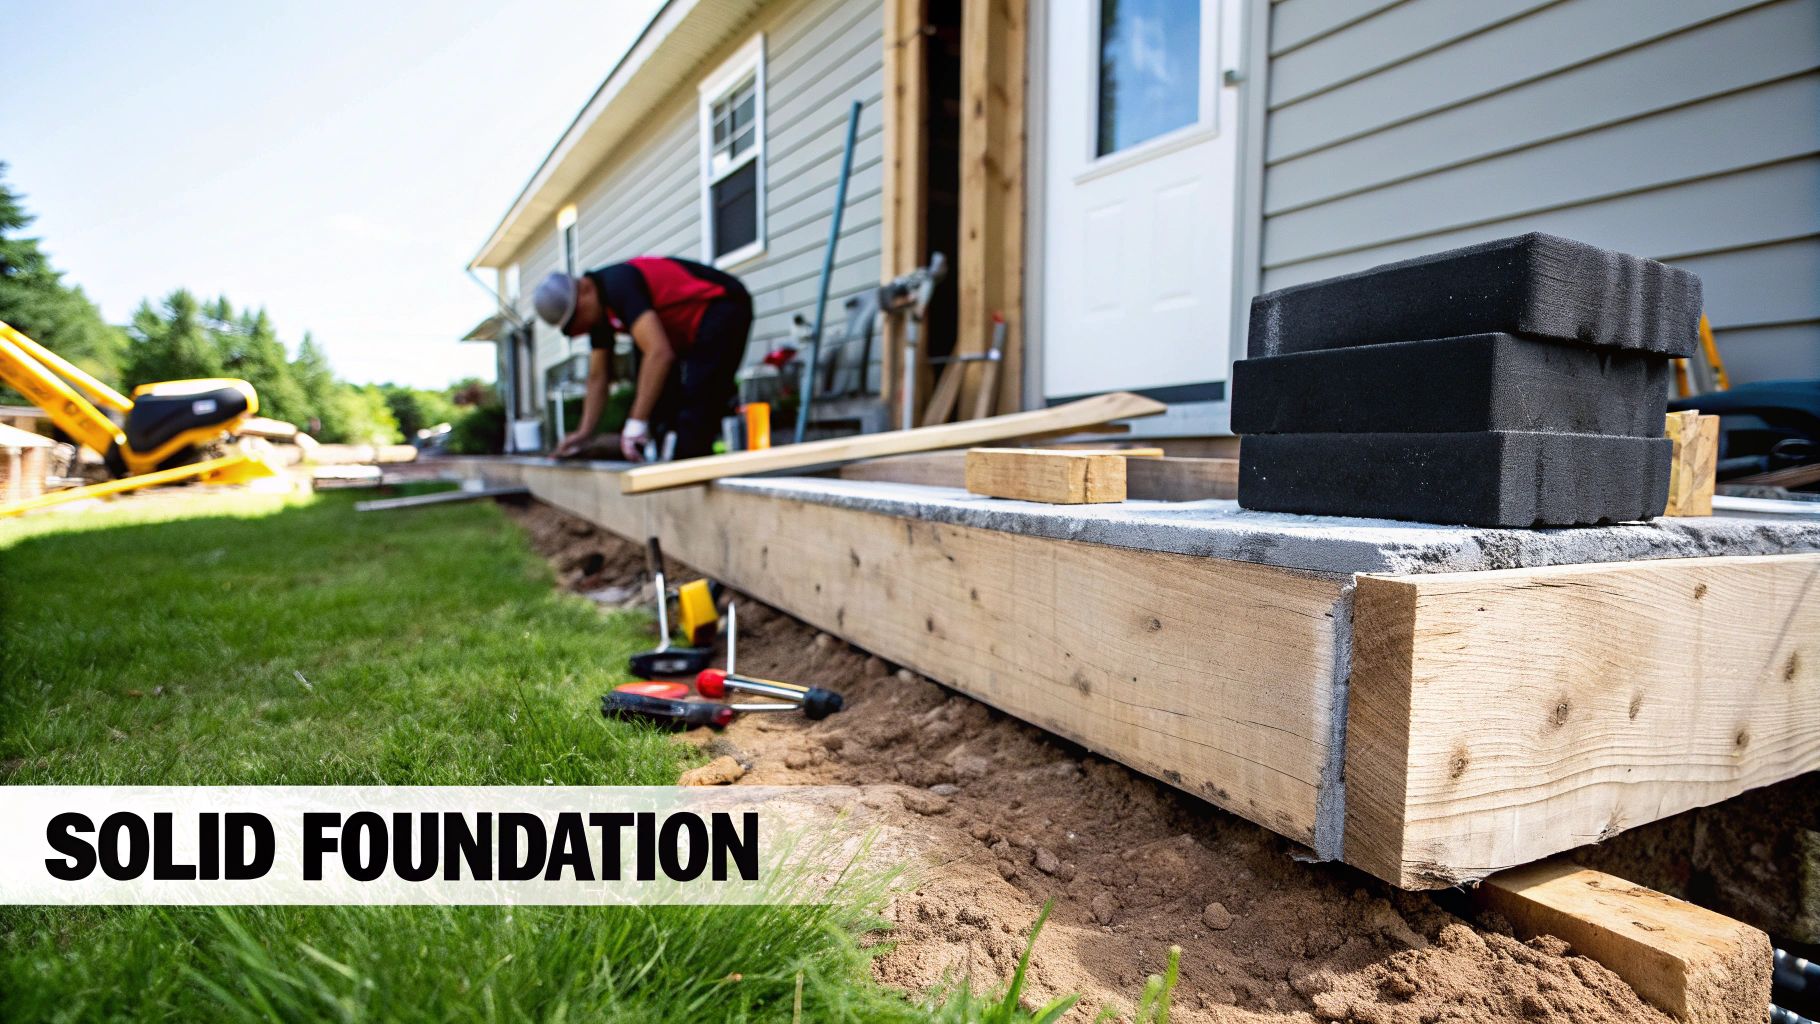
While the beautiful decking and elegant columns get all the attention, the real measure of a porch’s strength and longevity lies in its skeleton. This is the part no one sees—the foundation and framing. I’ve seen it time and again: this is where precision matters most. Every single step that follows depends on a base that is perfectly level, square, and built like a rock.
Think of it like the grammar of your porch; without a solid structure, the whole story falls apart. Cutting corners here is a guaranteed recipe for future headaches, from sagging floors to serious structural failure. This stage is all about building with integrity to ensure your porch stands strong for decades.
Anchoring Your Porch with a Solid Foundation
The foundation is what literally connects your porch to the ground. The right choice for your project will come down to your local climate, soil type, and the sheer scale of the design. You’ll generally be looking at one of two methods: concrete piers or a continuous foundation.
For the vast majority of porch projects, concrete piers are the way to go. These are simply columns of concrete poured into holes dug below the frost line—a critical detail you can’t ignore in colder climates. How deep is the frost line? It varies dramatically by region, so consulting your local building code isn’t just a suggestion, it’s a requirement. It might be 24 inches in a mild area or over 48 inches where winters are harsh.
A continuous foundation, often called a frost wall, is a far more substantial and costly option. This involves pouring a solid concrete wall around the porch’s entire perimeter. You typically only see this approach on larger, heavier structures or porches built on a significant slope, where you need superior stability to resist soil movement.
Your choice here directly impacts both your budget and your construction timeline.
- Concrete Piers: This is the most common and cost-effective method for a front porch. They’re quicker to install and use less material, making them perfect for most standard designs.
- Continuous Foundation: This is best for complex, multi-level porches, those with heavy stone elements, or sites with unstable soil. It provides maximum support but requires serious excavation and a lot more concrete.
A properly installed foundation does more than just hold up the porch; it has to resist the immense force of frost heave. When water in the soil freezes and expands, it can lift a poorly set foundation right out of the ground, causing cracks and serious structural damage.
Once the footings are poured and have had time to cure, heavy-duty metal post bases are set into the concrete. These brackets are what hold the vertical support posts, keeping the wood elevated and protected from ground moisture—the number one cause of rot.
Framing the Floor: A Grid of Strength
With the posts securely in place, the framing can finally begin. The whole process starts by attaching a ledger board directly to your home’s foundation or rim joist. I can’t overstate this: this single board is arguably the most critical connection in the entire structure. It’s responsible for transferring a huge portion of the porch’s load to the house itself.
The ledger must be flawlessly level and fastened with heavy-duty lag screws or structural bolts, spaced exactly according to engineering standards and local codes. Proper flashing—a waterproof membrane installed between the ledger and the house—is absolutely essential to stop water from seeping into your home’s structure and causing catastrophic damage.
From there, the rest of the floor frame is built out:
- Beams are Installed: Heavy beams, often made from multiple boards laminated together for strength, are set on top of the support posts. These run parallel to the house and carry the weight of the floor joists.
- Joists are Hung: The floor joists are the smaller boards running perpendicular to the house, typically spaced 16 inches on center. They’re attached to the ledger board on one end with metal joist hangers and rest on the main support beam at the other.
- The Rim Joist Completes the Box: A final joist, called the rim joist, is installed along the outer edge, perpendicular to the floor joists. This boxes in the entire frame, adding crucial rigidity to the structure.
Throughout this entire process, your builder’s most-used tools will be a level and a framing square. Every connection has to be perfectly square, every board perfectly level. A floor frame that’s off by even a quarter-inch at this stage will create a cascade of problems when it’s time to install decking and railings. This meticulous attention to detail is what separates a professional build from an amateur one. It’s the hidden work that guarantees a flawless finish.
Bringing Your Porch to Life: Decking, Roofing, and Finishes
With a solid, square frame in place, the project shifts from structural science to visual artistry. This is where your porch develops its personality. Every surface you see and touch—from the roof overhead to the decking underfoot—gets meticulously installed, turning a skeleton of lumber into a stunning architectural feature.
The choices you make now directly shape your home’s curb appeal, the porch’s longevity, and how much you’ll enjoy the space for years to come. It’s a methodical process of layering materials, usually starting from the top down to keep the structure protected as we work.
Installing a Durable and Stylish Roof
The roof is your porch’s first and most important shield against the weather. We begin its construction as soon as the roof framing is complete. The first layer is the roof sheathing, which is almost always large sheets of plywood or oriented strand board (OSB). These panels are fastened securely to the rafters, forming a solid deck.
Right after, we roll out the roofing underlayment—often called felt paper. This is a crucial water-resistant barrier that acts as a secondary defense if any moisture ever gets past the shingles. Along the edges, a metal drip edge is installed to guide water cleanly into the gutters and away from the fascia, preventing rot down the line.
Finally, it’s time for the roofing material you’ll actually see. For a high-end, cohesive look, the goal is always to match your home’s existing roof.
- Asphalt Shingles: The go-to for a reason. They’re versatile, cost-effective, and come in countless styles and colors to create a seamless transition from the main house.
- Standing Seam Metal: A premium choice that offers a clean, modern aesthetic and incredible longevity. It’s a perfect fit for contemporary or modern farmhouse designs.
- Architectural Shingles: Unlike basic shingles, these have a more dimensional, textured appearance that adds a sense of depth and character to the porch roof.
This multi-layer system ensures your porch isn’t just shaded, but fully protected from the elements for decades.
Laying the Decking for a Flawless Finish
Laying the porch floor is one of the most satisfying moments of the build. This is the surface you’ll walk on every day, so absolute precision is non-negotiable. We start laying boards at the house and work our way out, ensuring every single board is perfectly straight and spaced correctly.
That spacing isn’t just for looks; it’s critical for performance. We aim for a gap of about 1/8 to 1/4 inch between boards. This allows rainwater to drain away, preventing rot, and gives the wood room to expand and contract with temperature and humidity changes without buckling.
A Pro Tip From Experience: The very first board is the most important one. If the decking board laid against the house isn’t perfectly straight, that small error will multiply with every subsequent board, leading to a crooked, unprofessional finish. We spend the extra time to get that first one exactly right.
For a truly bespoke feel, consider how the boards are fastened. Hidden fastener systems, which clip into the sides of the boards, create a clean, uninterrupted surface with no visible screw heads. It’s a more labor-intensive installation, but the flawless result is undeniably luxurious.
Adding the Final Architectural Details
The final touches are what elevate a well-built porch into a genuine architectural statement. This is where we add the custom details—the railings, columns, and trim work that tie the whole project together with your home’s existing style.
Wrapping the structural posts is a hallmark of a high-end build. A standard pressure-treated 6×6 post can be clad in beautiful materials like cedar, PVC, or a composite to create a more substantial, elegant column. This allows for endless style possibilities, from a square Craftsman look to a classic tapered design.
Next up are the railings. While they are a key safety feature (especially for any porch over 30 inches high), they’re also a massive design opportunity.
- Baluster Installation: For safety, vertical balusters must be spaced correctly—code typically requires no more than a 4-inch gap between them.
- Handrail Finish: We make sure the top rail is sanded smooth and is comfortable to the touch. It’s a small detail, but one that conveys quality.
- Trim and Fascia: Adding trim boards, like fascia along the roofline and skirting around the base, conceals the raw framing and gives the porch a clean, polished look.
The very last step is applying a high-quality exterior paint or stain. This not only protects the wood from the elements but also brings your chosen color palette to life, creating that warm, welcoming entrance you envisioned from the start.
Hiring the Right Team for Your Porch Project
Even the most brilliant architectural plans are just paper. Turning that vision into a stunning, solid reality comes down to the people you hire to build it.
Choosing your contractor isn’t just another box to check—it’s the single most critical decision you’ll make for the entire project. This choice dictates everything from the sharpness of the miter joints to whether the project finishes on time and on budget. A great team makes the process a creative partnership; the wrong one can turn your dream into a nightmare of delays and disputes.
Vetting Potential Builders and Contractors
Finding the right professional requires a methodical approach. I always tell clients to start by asking for recommendations from trusted sources—think friends, neighbors with beautiful homes, or the architect who drafted your plans. Once you have a shortlist of three or four builders, it’s time to dig in. This is about so much more than just comparing bids.
You’re about to enter a significant professional relationship, so due diligence is non-negotiable. Before you even pick up the phone, do some homework. Check out their company website and portfolio. Look for reviews on trusted platforms. A polished, professional online presence is often a good sign of an organized and client-focused operation.
Your goal during the vetting process is to find a builder whose work you admire and whose communication style you trust. Competence without clear communication is a recipe for frustration.
When you’re ready to meet, treat it like an interview. You’re the one in charge. Here are a few essential questions I’d never skip:
- Can you provide certificates for your general liability insurance and worker’s compensation?
- What is your state license number so I can verify it?
- How many porches or similar outdoor structures have you built in the past year?
- Could you give me a list of recent client references I can call?
- Who will be my day-to-day contact on-site, and how often will they physically be here?
Their readiness to provide this information—or any hesitation—tells you a lot about their professionalism and transparency.
Understanding the Contract and Managing the Project
A handshake is a nice gesture, but your project’s only real protection is a meticulously detailed contract. Never, ever let work begin without a signed agreement that spells out every last detail. A proper contract should include the full scope of work, with a specific breakdown of materials, brands, and labor costs.
It must also define a clear payment schedule tied to project milestones. A typical structure might look like 10% at signing, with subsequent payments made only after key phases—like the foundation, framing, and roofing—are complete. The final 10-15% should always be held back until after the final walkthrough, once you’ve signed off that you’re completely satisfied. Be very wary of any contractor who demands a large sum of cash upfront.
From day one, clear communication is the glue that holds a project together. Agree on how you’ll stay in touch—a weekly site meeting, daily texts, or formal email updates. For more on this critical selection process, our guide on how to choose a home builder for your custom home offers some excellent, in-depth advice.
This disciplined approach ensures you stay in control. It’s no surprise that the desire for these beautiful and functional home extensions is growing; the North American outdoor living structure market is projected to expand at a compound annual rate of 5.4% in the coming years. You can read the full research about trends in outdoor living structures from Grand View Research.
Your Top Questions About Building a Front Porch, Answered
Embarking on a project like a new front porch is exciting, but it almost always kicks up a storm of questions. It’s completely natural. You’re thinking about everything from budget and timelines to permits and materials, and getting clear answers is the only way to move forward with real confidence.
Let’s walk through some of the most common questions we hear from homeowners as they start planning their own dream porch.
How Much Should I Budget for a High-End Porch?
The honest answer? It varies wildly. The investment for a truly luxury front porch is dictated by its size, the materials you choose, and local labor costs. Generally, you should be prepared for a range anywhere from $20,000 to over $50,000.
So, what pushes a project into that upper tier? Think premium decking like Ipe hardwood or the best composite boards on the market, intricate custom millwork, a substantial roof structure, and standout architectural features like columns wrapped in natural stone.
Don’t forget that labor is a massive piece of the puzzle, often eating up 50-60% of the total cost. I always advise clients to get several detailed quotes and, crucially, to build a 10-15% contingency fund right into the budget. You’ll be glad you did when those inevitable small surprises pop up.
Is a Building Permit Really Necessary?
For a project of this scale, the answer is almost certainly yes. Most local building authorities require a permit for any new structure attached to your home, especially if it includes a roof or sits more than 30 inches off the ground.
This isn’t just about navigating red tape; it’s a critical safety measure. The permitting process ensures that your porch is designed and built to meet current structural codes. This protects your family, your investment, and your home’s future resale value.
A word of caution from experience: skipping the permit might seem like a shortcut, but it can backfire spectacularly. You could face hefty fines, a stop-work order, or in the worst-case scenario, be forced to tear the whole thing down. It will absolutely create headaches when you decide to sell your home.
How Long Will It Take to Build?
This is where you need to set realistic expectations. The total timeline is often longer than people first imagine, and it’s heavily influenced by the permitting process, your contractor’s schedule, the weather, and the sheer complexity of your design.
Here’s a rough breakdown of what to expect:
- Phase 1: Design & Permitting: This crucial first stage can easily take 4 to 8 weeks before a single nail is hammered.
- Phase 2: Construction (Standard): Once you break ground, a relatively straightforward porch might come together in 2 to 4 weeks.
- Phase 3: Construction (Complex): If your vision includes an elaborate roof system, custom railings, and detailed stonework, the on-site build time could stretch to 6 to 10 weeks or more.
Have a very direct conversation about the timeline with your builder. Understand that in the real world of construction, unforeseen delays happen. A good contractor will build some buffer into the schedule and keep you informed every step of the way.
What’s the Best Material for Porch Decking?
There’s no single “best” material—it all comes down to what you value most. Are you prioritizing jaw-dropping aesthetics, low maintenance, or your budget? For a luxury build, a few options consistently rise to the top.
If you want the gorgeous look of real wood without the constant upkeep, high-end composite or PVC decking is an incredible choice. The technology has come so far, and the best brands offer a truly convincing wood-like appearance.
For the purists who believe nothing compares to the real thing, dense hardwoods like Ipe are the gold standard. They are phenomenally durable and beautiful, but be prepared for the commitment—they need regular sealing to maintain that deep, rich color. Of course, pressure-treated pine is always the most budget-friendly route, but it requires the most maintenance to fend off rot and splinters over the years.
Finding the right team of professionals to bring your vision to life is the single most important decision you’ll make. At Haute Design, we specialize in connecting discerning homeowners with the nation’s most respected architects, builders, and designers—the kind of experts who create truly extraordinary living spaces.
To find the perfect partner for your project, explore our network of design professionals.